Annotation V1 (deprecated)
This annotation workflow has now been deprecated. Current Annotation documentation can be found here: Annotation V2.
Chariot provides an annotation function for labeling your data, with both model-driven and human-guided options to optimize the efficiency of the annotation process.
Currently, Chariot supports the following annotation task types:
- Image classification
- Image segmentation
- Object detection
- Text classification
- Text generation
- Text token classification
Creating an Annotation Job
To begin the annotation process, you must create an annotation job, which is a folder that contains the annotation tasks and labels for a particular dataset.
Navigate to your project in Chariot. Click the Annotation tab, and click the Create New Job button.
When prompted, provide a Name and Description for the annotation job.
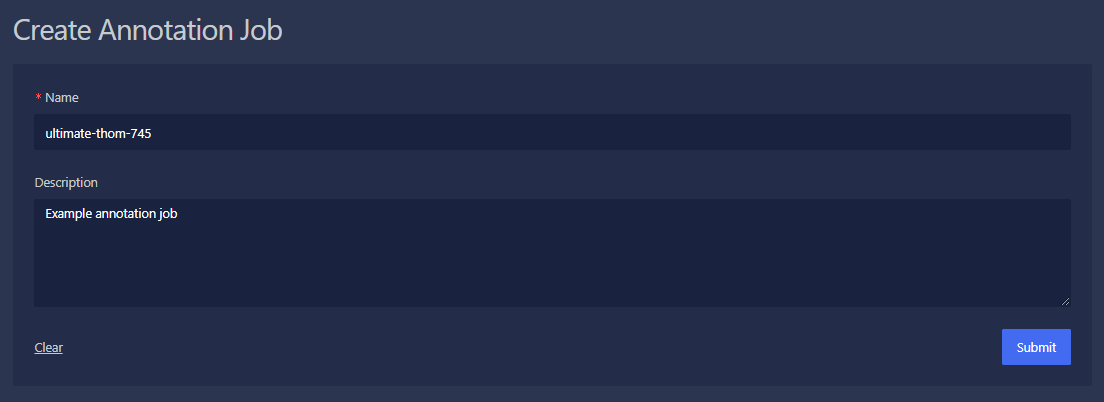
Click the Submit button.
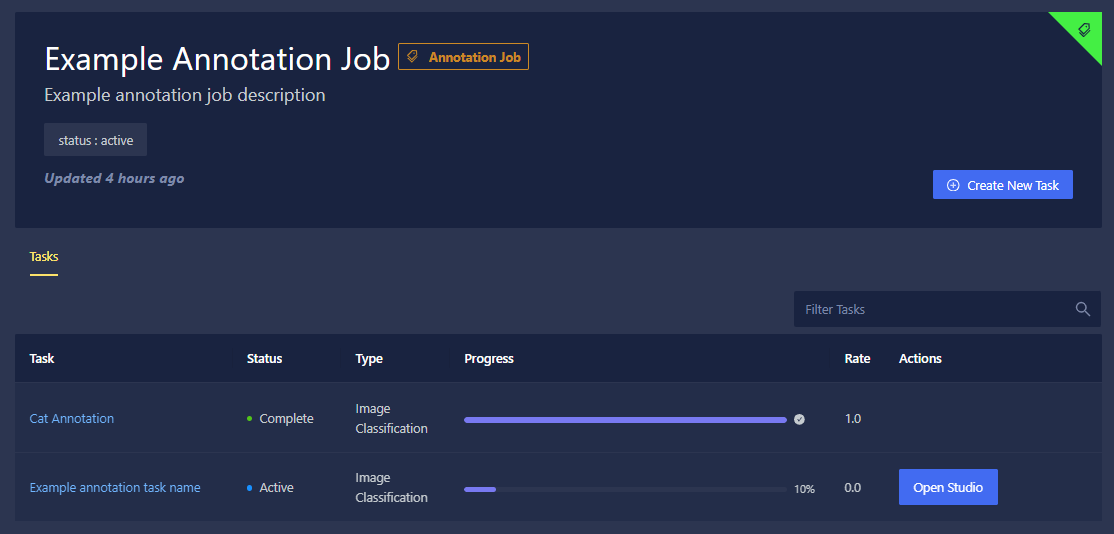
Once the annotation job has been created, you will be directed to the Annotation Job Detail page.
On this page, you can view the details of the job, the annotation tasks, their progress, and any actions that can be taken on those tasks.
Creating an Annotation Task
An annotation task is a specific instance of data annotation within a dataset.
To create an annotation task, navigate to the annotation job and click the Create New Task button.
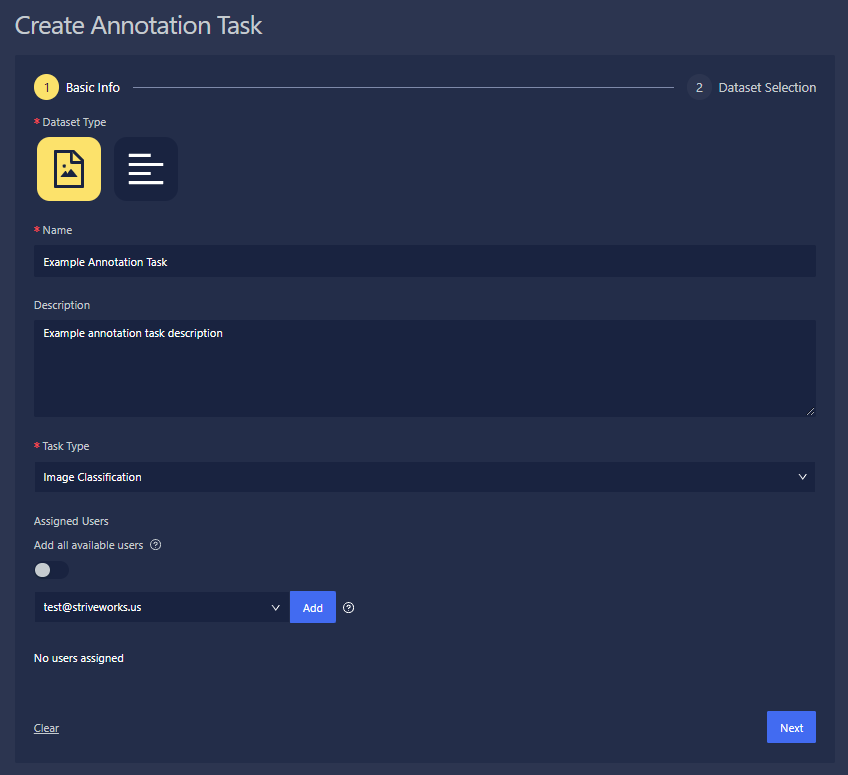
When prompted, provide the following information:
- Dataset Type: Choose between image datasets and text datasets.
- Name: Provide a name for the annotation task.
- Description: Provide a short description of the annotation task.
- Task Type: Depending on the dataset type chosen above, specific task types will be available to select.
- Image datasets allow for image classification, object detection, and image segmentation task types.
- Text datasets allow for text classification, text token classification, and text generation task types.
- Assigned Users: Select the users you would like to assign to this annotation task. If you would like to add all available users to the task, click the Add all available users toggle.
Click the Next button to continue.
Choose the dataset you would like to use in this annotation task, and click Select Dataset. By default, only datasets within this current project are displayed. To include datasets from all projects, toggle Include all projects.
If any content within the dataset has already been annotated, you can skip the annotation process by toggling Skip if previously annotated.
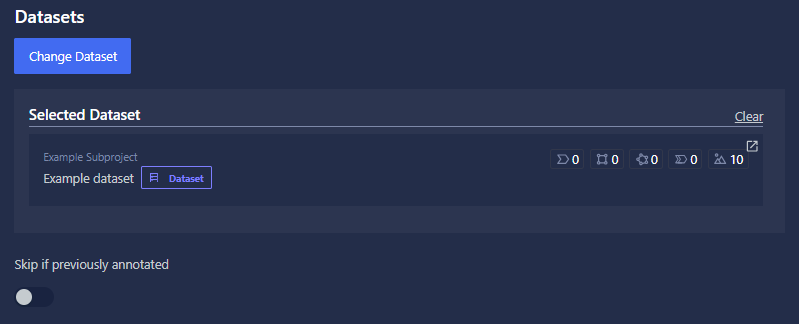
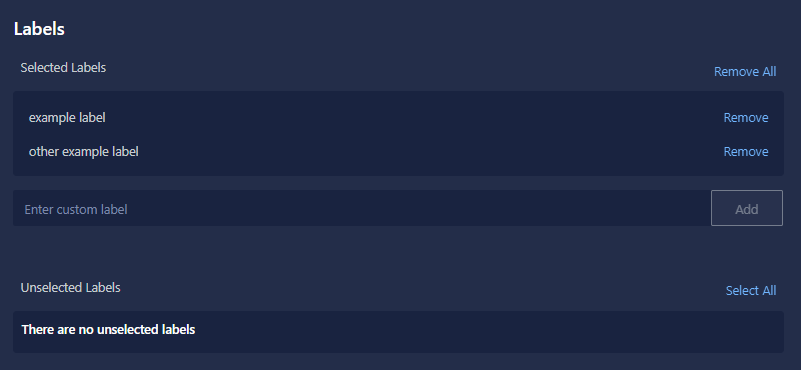
Select the labels you would like to apply when annotating your data. To add a label, type it in the Enter custom label field and click Add. If labels already exist within the dataset, they are shown under Unselected Labels.
Click the Submit button to finish creating the annotation task.
Annotating Data
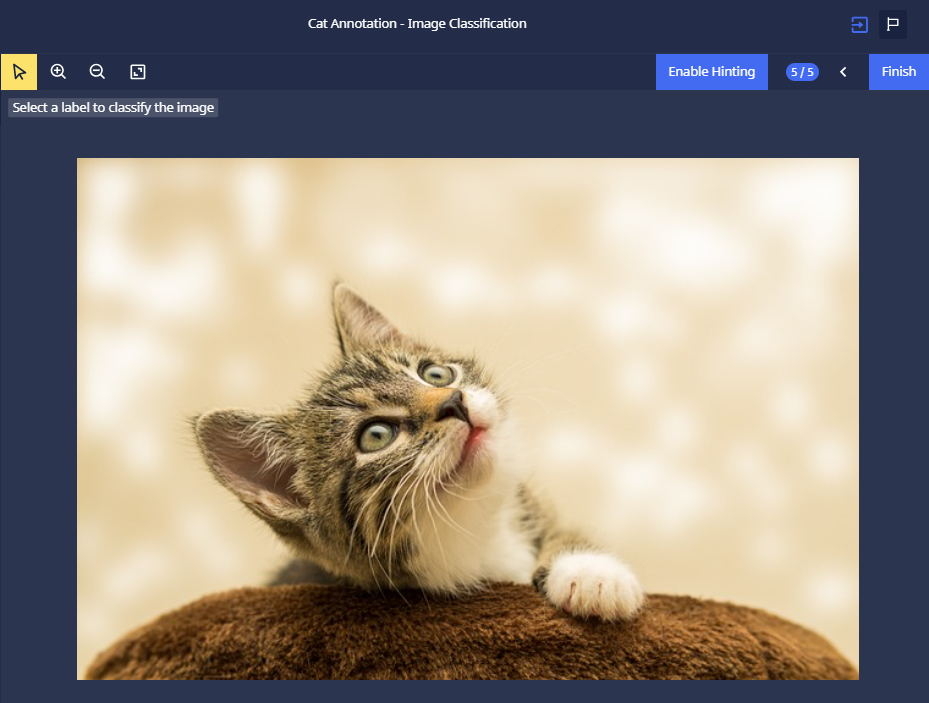
Let's walk through an annotation session to annotate your data.
In this example, we are preparing a dataset for an object detection task. When annotating data for object detection, you apply bounding box labels to specific parts of an image to accurately annotate its contents.
Multiple users can annotate data in the same annotation job at the same time. To prevent differing or duplicated information, each user will be given different images or text to annotate.
To begin annotating your dataset, navigate to the annotation task and click the Open Studio button.
To remove or edit incorrect annotations, click the annotation label you would like to adjust, which will expand a list of options for that annotation. To remove an annotation, click the trash can icon associated with it. To edit an annotation, adjust the bounding box to correctly mark the intended annotation location.
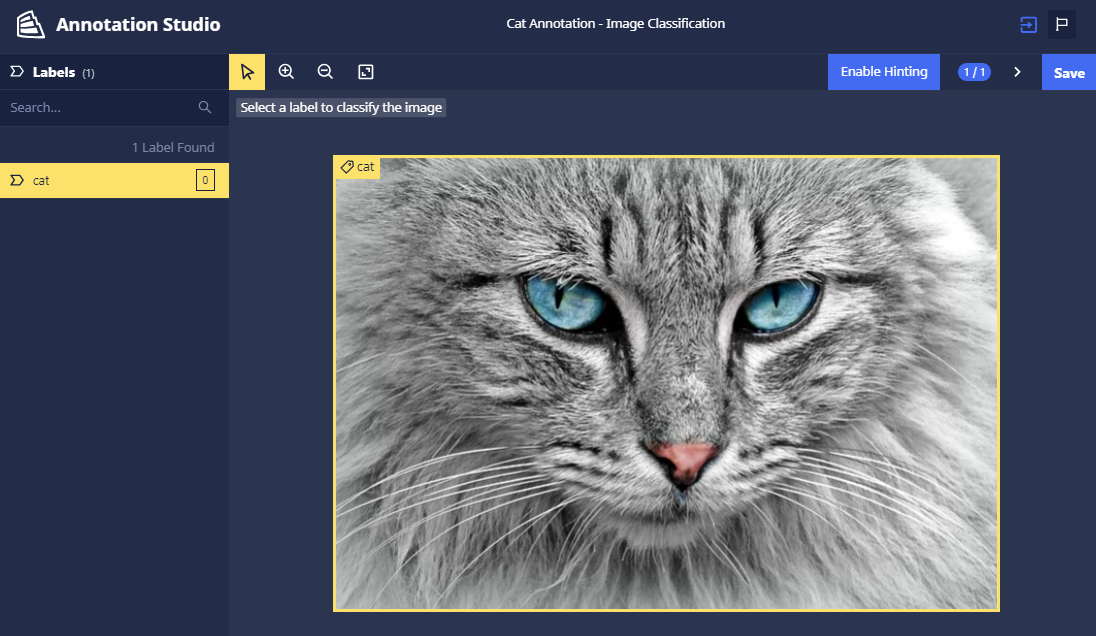
When annotating a dataset with many datums, click the Save button after completing each annotation, and the next datum in the dataset will populate, allowing you to move quickly through your dataset.
If you need to suspend your annotation session, click the End Session & Close Tab at the top right of the Annotation Studio.
Click the Submit button to proceed to the next datum in the dataset. Continue this process for each datum until all datums are annotated and your dataset is complete.
A prompt will alert you that all data have been annotated. Click End Session & Close Tab to conclude the annotation session.
Splitting Polygons
For image segmentation tasks, different objects may have been incorrectly segmented as a single entity, requiring the annotator to split them. To split a polygon, the user can select a starting point and click on the scissors icon to initiate the split. The user can then choose additional points within the polygon and select a final point to complete the split.
AI-Assisted Annotation
Model Hinting
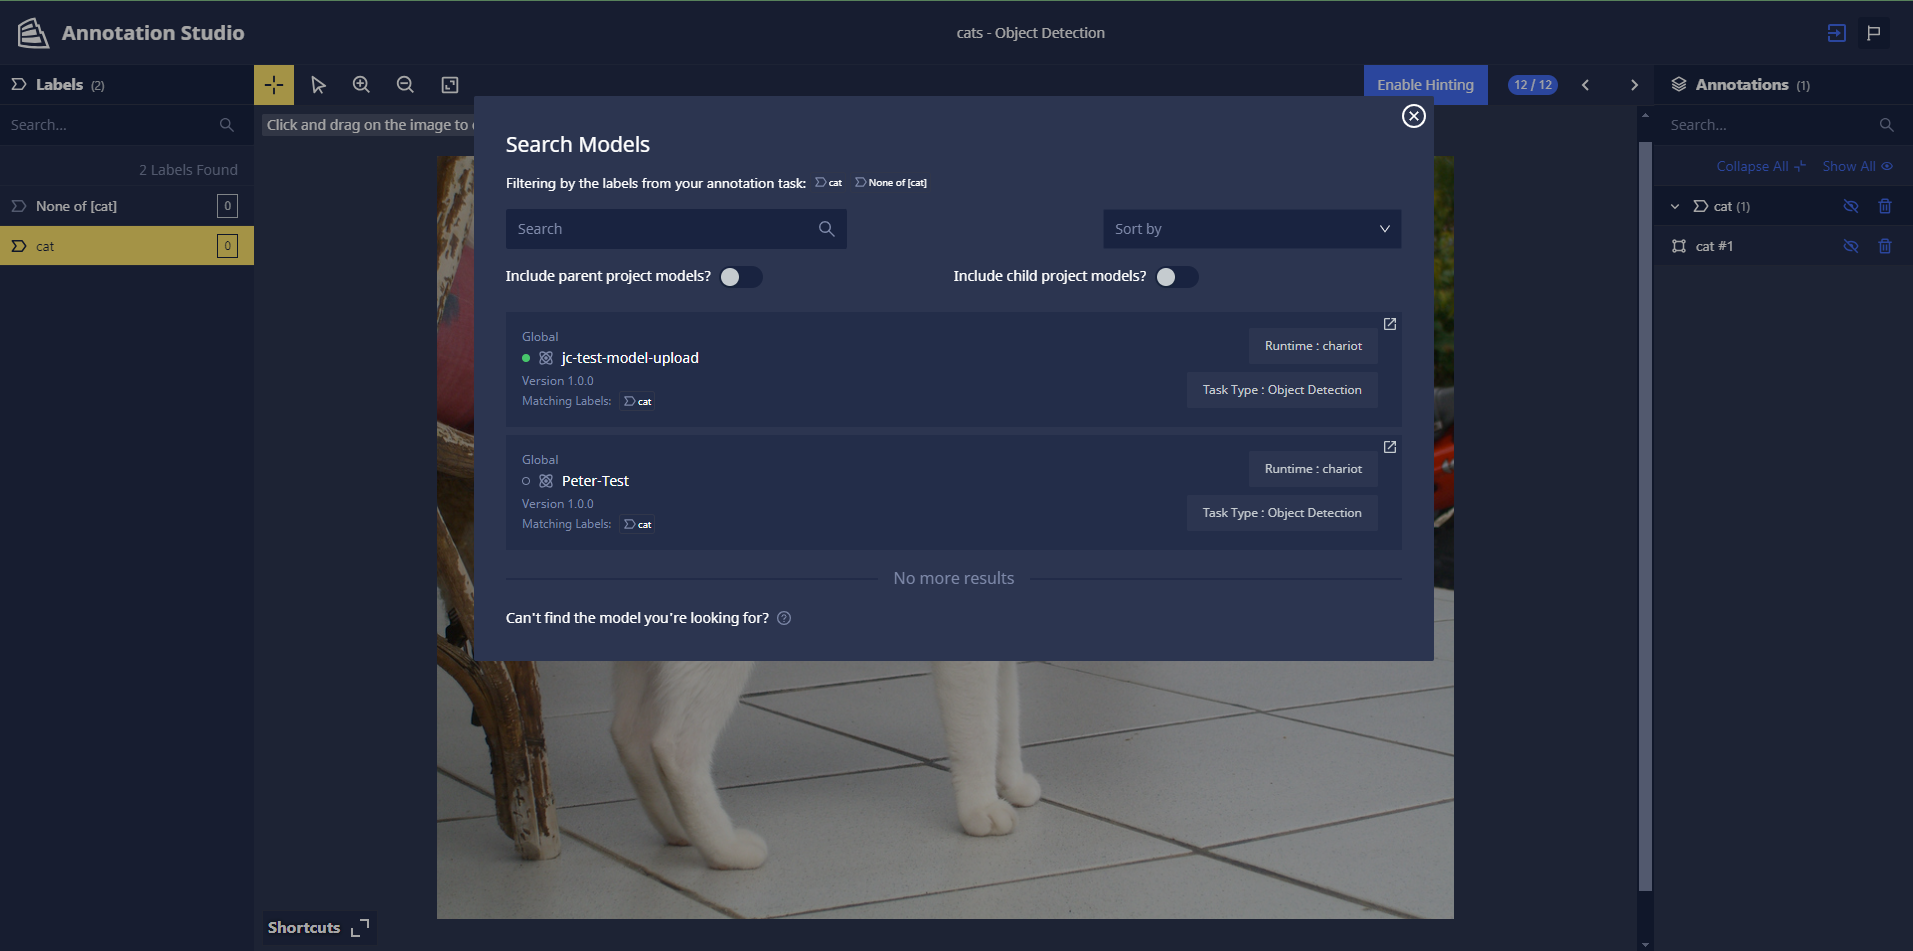
"Model hinting" is a feature designed to increase annotation speed and accuracy by allowing users to select models available in the Chariot Model Catalog to provide hints or pre-annotate data in the Annotation Studio.
To use this feature, click the Enable Hinting button on the right toolbar at the top of the window. This will present you with all relevant models—those containing one or more class labels configured for the given annotation task.
The chosen model may take a few minutes to become available for use.
Once the selected model is ready, it will run inference in the background to generate "hints" related to the specified labels. These hints are displayed in a dedicated panel on the lower right-hand portion of the window. Hovering over the hints will render them; to use a hint, click Use. This will add the hint as an annotation that the user can further edit, refine, or remove as needed.
Segment Anything Lasso Tool
Chariot's Segment Anything lasso tool leverages Meta's Segment Anything Model (SAM2), deployed within Chariot to automatically generate segmentation masks for parts of an image. Designed exclusively for image segmentation tasks, this tool allows users to efficiently isolate and work with specific image regions, simplifying the segmentation process and enhancing precision.
Since the Segment Anything Model that powers the lasso tool requires an active Inference Server in the background that the model can run on to scale up, it might take a couple of minutes for the tool to be ready to use. Once the Inference Server is active, you will be able to use the tool without interruption for the rest of your session until there is a 15-minute period of inactivity.
Use the lasso tool by clicking Draw Box and then drawing a box around the part of the image that contains the object you wish to segment.
If the model identifies the object correctly, you will see a segmentation mask appear around it. The list of contours generated by SAM can be viewed in the lower left-hand sidebar. To use a contour as an annotation, click Use. The segment will be added as the currently selected label in the annotation panel, where users can further edit, refine, or remove it. Often, you may want to split the segment into multiple segments, potentially with different labels. For more details on how to do this, see the Splitting Polygons section.
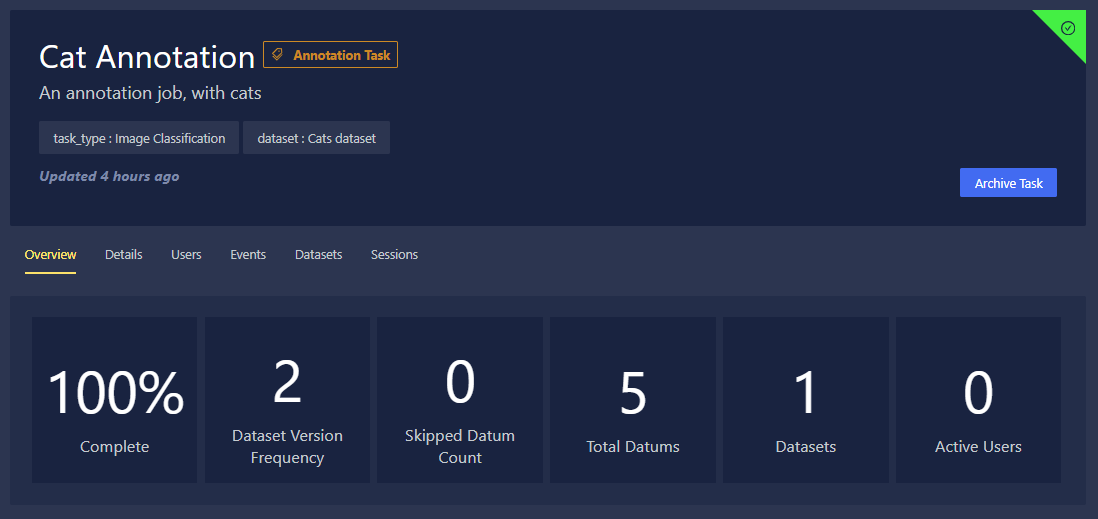
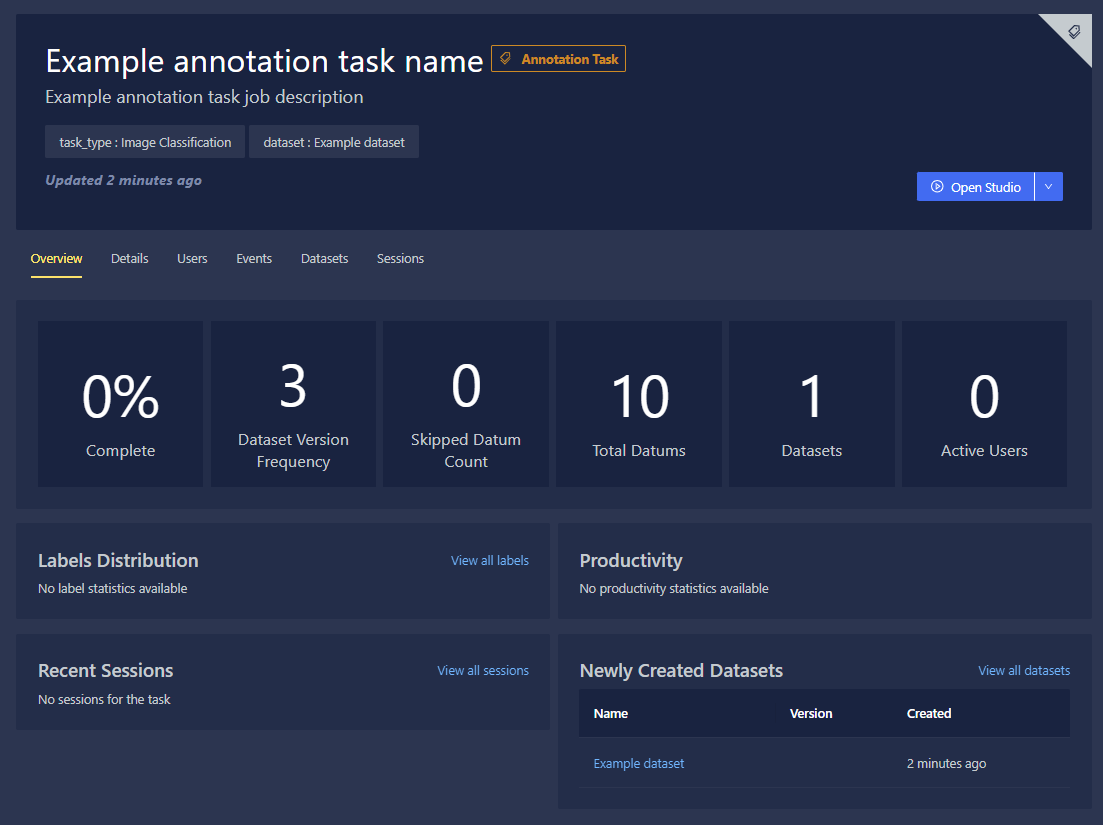
Annotation Task Overview
The Annotation Task Overview page provides details of your annotation task, including label distribution, session information, and user productivity.
To archive completed annotation tasks, click the Archive Task button.